Change DNS on your router
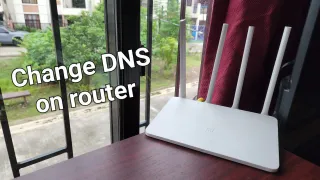
Let's take a look on how to change the DNS for your router
Published: 08 Aug 2022
Changing DNS is fairly easy on most routers and moderns routers often have an app, where you can change from. We'll focus on the website approach here
Change DNS through browser
1) Open a browser and navigate to your router URL. Router URL can be found either under your router or in the manual. Below are some common router addresses| URL | Example of Routers using it |
| http://192.168.0.1 [↗] | D-Link and TP Link |
| http://192.168.1.1 [↗] | Linksys, TP Link, ZTE, Netgear and Asus |
| http://unifi.ubnt.com [↗] | Ubiquiti |
| http://192.168.31.1 [↗] | Xiaomi (Mi) Routers |
| http://10.0.0.1 [↗] | Cisco and D-Link |
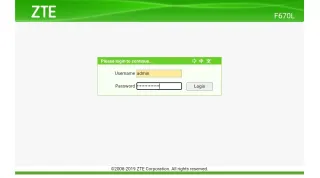
2) Login to your router
Credentials are normally found in the manual or on the device, often under or behind. A quick web search for router model and admin login, will give you the most common default login
3) Look for DNS Settings, which can often be found under WAN, LAN, IPv4, IPv6 or Internet
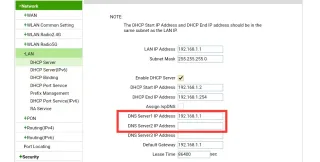
4) Note down your DNS values, in case you want to revert later
5) Enter the new DNS values
Below you see two of the big free providers, but there's also more free and paid options available
| Provider | Primary DNS | Secondary DNS | Extra |
| Cloudflare DNS | 1.1.1.1 | 1.0.0.1 | |
| Cloudflare Family DNS | 1.1.1.2 | 1.0.0.2 | Blocks Malware |
| Cloudflare Family DNS | 1.1.1.3 | 1.0.0.3 | Blocks Porn and Malware |
| Google Public DNS | 8.8.8.8 | 8.8.4.4 |
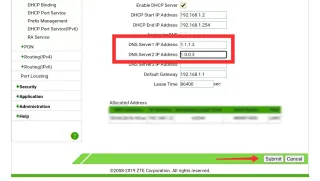
6) Save settings
We sometimes publish affiliate links and these always needs to follow our editorial policy, for more information check out our affiliate link policy


