Replace front wheel Mi Electric Scooter (all models)
Front wheel change on the Mi Electric Scooter (all models) is pretty straight forward, but at the same time can be difficult and you'll need some tools and patience
This guide will look into how to remove the wheel, but not on changing the tire. We also have an guide on replacing front tire
Models covered: - Mi Electric Scooter (all models)
Difficulty: Medium - Hard Time: 30min - 1.5hr
Tools: - Wrench 18mm (not adjustable type) - Allen/Hex key H2.5 - Torx T20 - Tweezers / small knife - Hammer - [might be required] Lube (such as WD-40)
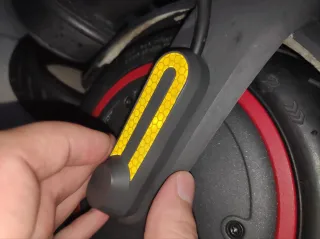
Remove reflectors
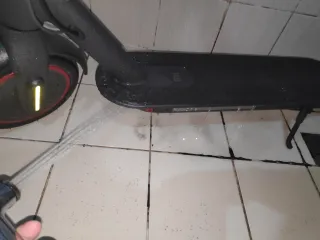
When you've ensured you've required tools, you can place the bike on top of a chair or table. Remember weight can shift when you, when you remove the rear wheel. So ensure it's stable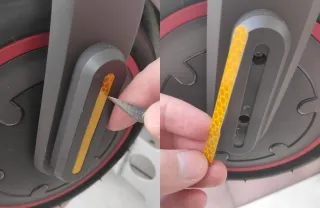
Start by removing the reflectors. You'll need need something thing, sharp and strong. I used a small knife. Then I stroke my finger over the reflector until I can find where the hole is and will put the knife in on the side and pull out until I can grab the refector and gently pull it off
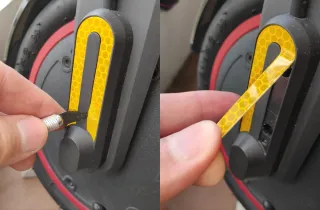
It's the same process for the other side, but I'll remove the reflector hold before doing the other side
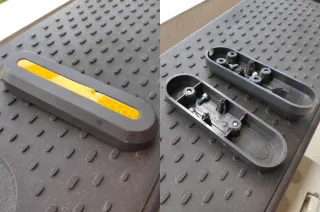
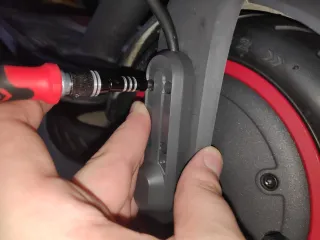
Remove the reflector holder
After the reflector is removed, you can remove the 2.5 hex screws. There's two on right side and four on the right side, then the reflector holder will come off on respective side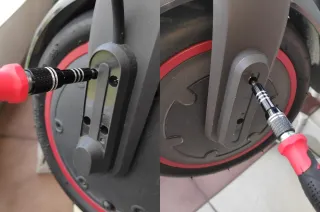
I leave the screws inside the holes and then put the reflector stickers gently back on the reflector holder. This will help protect the stickers from dusty
Then I put any additional screws belonging to one side, inside the holder of that side. Now it's easy to keep track of the screws and where they belong
[Optional] Remove the side panel screws
This steps is not necassary if you're just changing the wheel, as these screws just hold the cover and there's still lots of space if they're not removed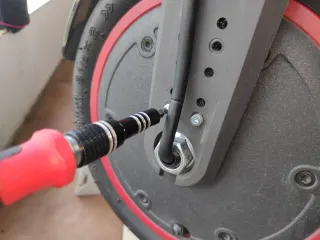
If you decide to do this, then there's two hex screws (H2.5 size) on each side of newer models. Older models have up to 4 screws on each side
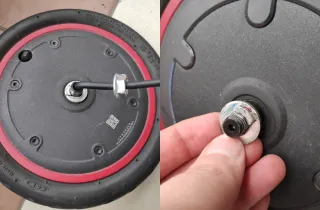
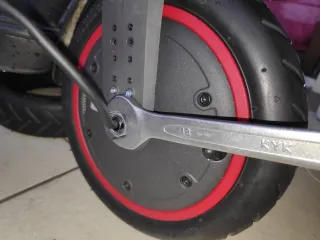
Remove the wheel screw
Now that the reflector holder is off, you'll have access to the screws for the wheel axis and here you'll need the 18mm wrench. Do not use an adjustable wrench, you want something that sits tight on the screw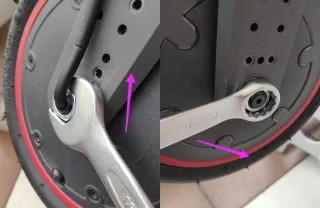
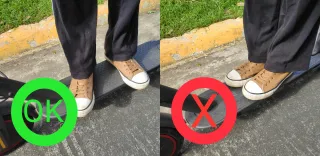
These can be be very tight, so I recommend putting the eScooter on the floor and have a long shaft wrench. I ended up standing on the wrench with one foot and holding the bike with the other, so I could loosen it. Just be careful with the wire
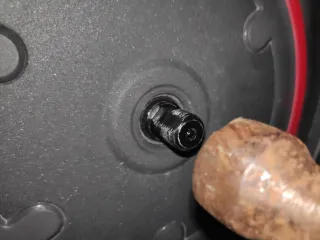
Remove the tire screw
These can be be very tight, so I recommend putting the eScooter on the floor and have a long shaft wrench. I ended up standing on the wrench with one foot and holding the bike with the other, so I could loosen it. Just be careful with the wire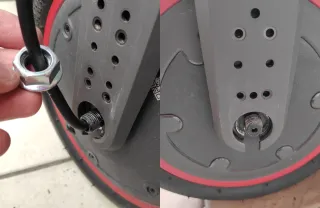
Then you can remove / slide away the screws
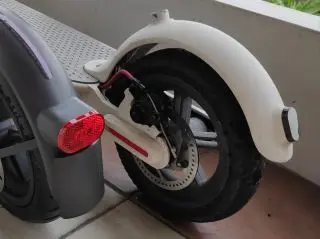
Tire is now off
If you lift the bike, the tire will come off (straight down)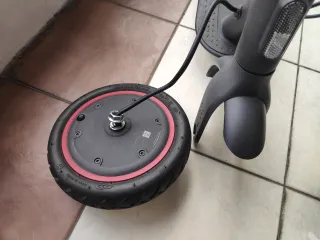
Just remember the wire is still connected and shouldn't have any pressure, so avoid pulling to much on the wire
Now that the tire is off, you can remove / slide away the washers from both side
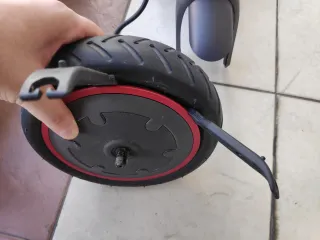
Remove motor from wheel
To prevent damaging the motor and motor wire, and release the tire valve (lock inside the motor)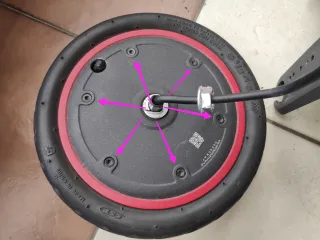
Remove the six torx screw (T20 size)
Strong magnets are holding the motor inside the wheel, be careful with your fingers
Then put the wheel so it's standing and tap a few times on the axel, from the side without the motor wire
Now you will see the there's a slight gap on the other side. now place the wheel down, with the wire facing up
Put your knees on top of the tire then push down, so the motor separates from the wheel and remove the motor
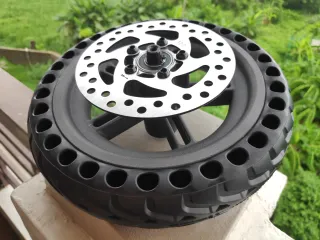
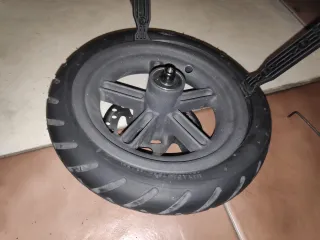
Wheel is now off
Now that the wheel is off, you can proceed to do what you planned to doIf it's to change the tire, check out this guide on how to change front tire
Put wheel back on
When you put the wheel back on the bike, you need to ensure the washers are put on first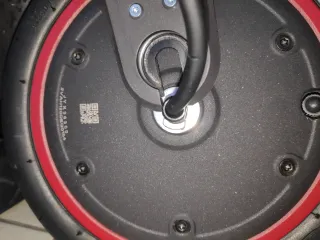
If you look closely, the washer have a metal piece sticking out. This part you want to have on the bottom and pointing away from the wheel
Put on the cover and alight the wholes with the pieces poking out
Now you want to tighten the screws gradually, by doing each screw slight and go back and forth until all is thight
Warning, do not over thighten the screws or you might break the plastic covers
Then put on the reflector sticker, just make sure its properly aligned before you push it on properly
Now do the same on the other side and you're done