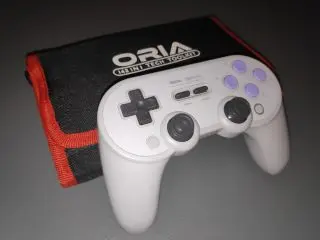
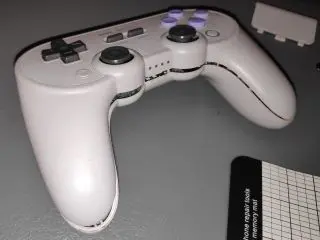
Let's see what's inside an 8BitDo SN30 Pro+ controller and if we can fix the L-button
Written by Tomas Lyngen
Published: 20 Oct 2021
Once in a while a controller stops working as it should, often it can be because dirt or liquid came inside
For this 8BitDo controller, the L-button have stopped working. Rest of buttons works fine
Tools
Since we'll be taking apart this controller, we'll need a few tools
- S0
- T6
- Prying tool
- Tweezers [optional]
- Magnetic pad [optional]
Teardown
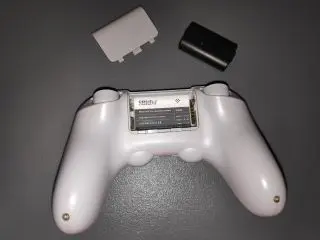
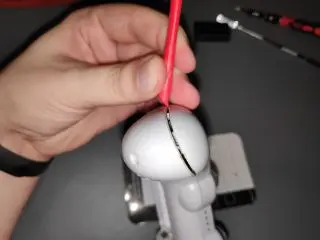
First we remove the battery cover and the battery
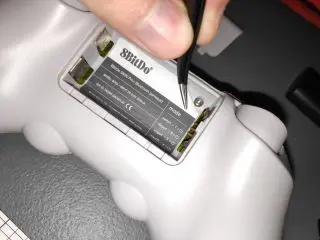
Then we can remove the four screws using the T6-bit
Two of the screws are hidden under the sticker in the battery compartment
Then we can go around the controller, using a prying tool to unhook all the tabs
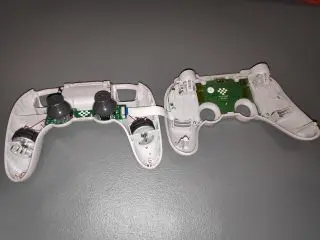
Once all tabs are released, the top can be lifted straight of and to the right side. Just be careful of the ribbon cable
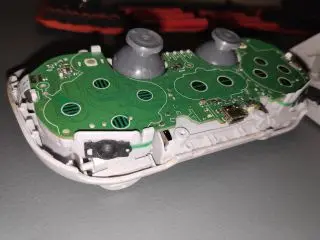
Bottom portion of the controller houses the mother bord for the joysticks, the two rumble motors and connection to the battery. Then a ribbon cable connects it to the top motherboard, which have all the buttons and USB-C charge port
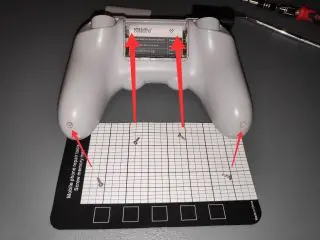
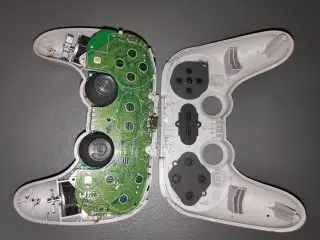
To get access to the buttons, we need to remove 7 more screws usinf a S0-bit. Just be aware that the screw in the middle is shorter than the other screws
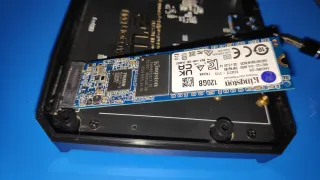
Once the screws are removes, we can gently lift the motherboard and slide it down. As the USB-C, L-button and R-button are inside the frame
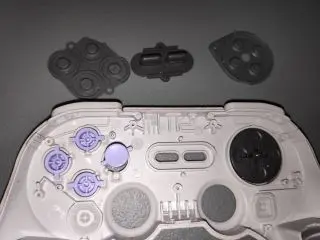
No indication of spills and the area is pretty clean, only slight dust
Everytime I take apart a controller, I always like to check that the buttons and membrane are clean
There were very little dirty to remove on this controller
No dirt found under the L-button or indication of any issues
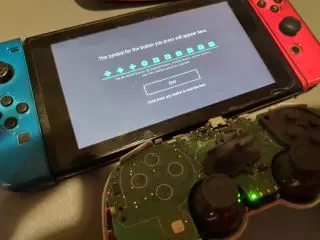
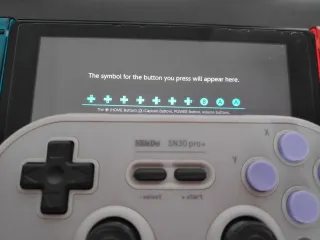
Put the battery back and opened the button tester in the Nintendo Switch setting menu
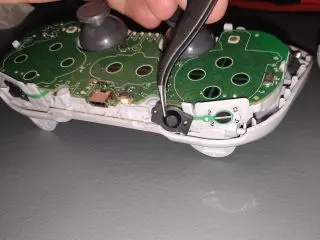
All buttons, except the L-button are working. Also tried swapping membrane from R-button, no difference and membrane worked fine on the other button
Ribbon cable looks fine and clean. Issue is then somewhere between the ribbon cable and the motherboard. Unfortunately this is not something I can repair
Then it's not much else to do, than reassemble the controller and verify that everything still work. Light and all buttons, except the known bad L-button worked