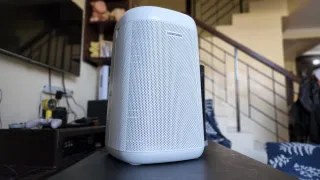
Yangzi Dehumidifier CS-10E: #Teardown
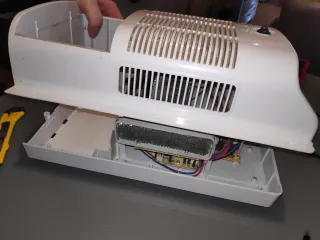
Once in a while something stops working, you want to do deep cleaning or just curious what's inside
Here we have the Yangzi Dehumidifier CS-10E on the work bench, let's take a look what's inside
Depending on where you live, taking apart can void your warranty. Even if it doesn't void your warranty, you can still cause damage not covered by warranty. Proceed with caution
Tools
Not much tools is needed to take apart the dehumidifier- S0 - Magnetic pad [optional]
Teardown
As I have this placed between the kitchen and living room. It collects a lot of greasy dust, that the vacuum doesn't always manage to get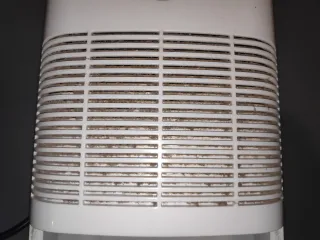
Using that great excuse, let's see what's inside
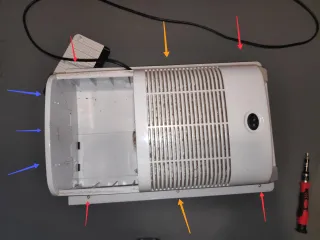
Unplug the power and lay it flat on the table. Then you can remove 9 screws, but note they're of different lengths (as indicated by colour arrows)
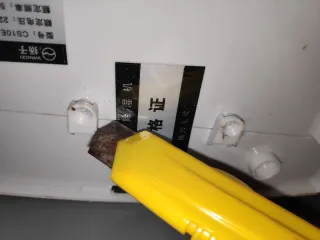
There's also a warranty sticker on the bottom that needs to be removed
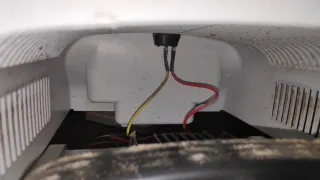
Now the lid can be gently lifted up, just be careful with the cables for the power button
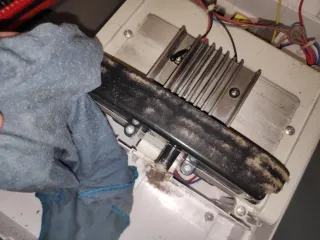
Beside the backplate vents, there wasn't to much dirt inside the dehumidifier
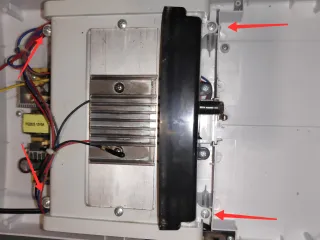
After removing four more screws, we can see the final area of the dehumidifier
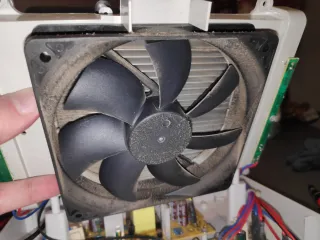
Here we'll find the blade and fins, which only had slight dust on them
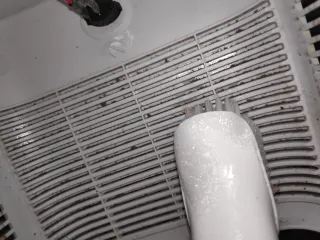
If they made the vent panel removable, without any electronics on it. It would be safe and easy to clean at home. As it stands now, I can't recommend the general consumer to take part this dehumidifier
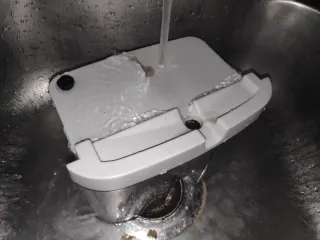
Other areas of the dehumidifier is easy to clean, without the need of taking it apart

