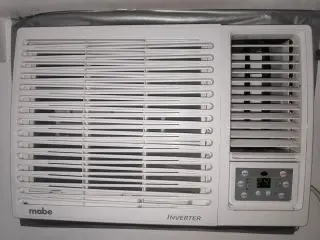
Mabe 1HP Invert Window Aircon: How to remove from wall
There can be multiple reasons why you want to take down the aircon from the wall, most common would be cleaning. Followed by repair and removing it (moving or bought new)
Removing and inserting an window type aircon is a two person job, especially if it's inserted higher on the wall
If it's floor installed, you might mange with just one. But it's still recommended to be at least two
Required persons: 2 Brand: Mabe Model: MEI09VR Aircon Type: Window Type Aircon 1HP Inverter
We know this aircon is branded under many different company names. So you'll find other brands aircon that look exactly the same, except the company logo on it. If your display and front look the same. Most, if not all of the guide will also apply to your aircon
Please be careful if you try this at home. Aircons are heavy and can cause serious damage if it falls. Some countries also have limits on what you're allowed to do yourself, without voiding warranty and home insurance
Remove power
A good first step, is to disconnect the power cable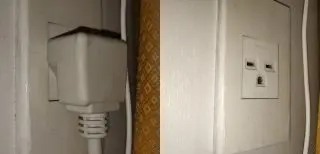
This is done for both safety reasons and if you're going to take it down from the wall, it needs to be disconnected
Cover and filter
Start by removing the cover and the filter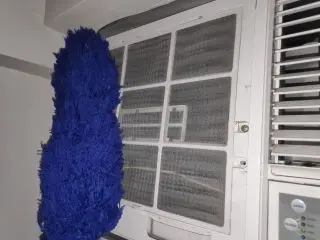
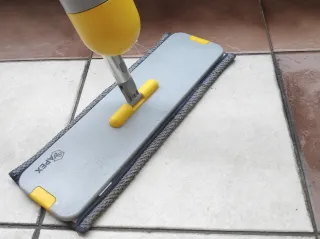
I have a microfiber feather duster, that I like to wipe over the filter. It doesn't put much pressure on the filter and absorbs the dust easily
Faceplate
There's one (or two screws) and 5 tabs holding down the faceplate
You see the two screws holes in front (I only have one screw here) and then you've the tabs all around
Start by removing the screw/s
Behind the faceplate
Let's make it easier removing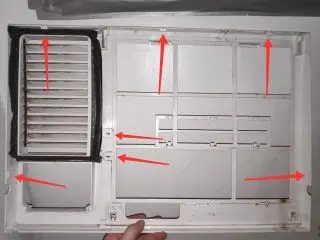
Here you can the two screw holes and where the 5 tabs are
Left tab
You want to first remove the side tabs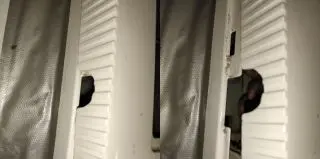
Here you want to just pull the plastic faceplate to the side, so it unhooks from the rest of the aircon
Right tab and top tabs
On the right side (next to the control), the wire is coming out where you need to disconnect the tab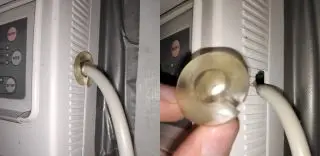
Start by removing rubber insulation, this you can just gently pull out
Then you want to unhook the tab, this is the tab I struggled with the most and why I recommended starting with the other side, so you can see how it's connected
Once it's unhooked. You first pull the bottom of the faceplate out, so it's outside of the control panel. Then you can just lift the faceplate straight up, towards the ceiling and it will be disconnected from the top hooks
Remove metal plate
Now you need to remove one screw, remove the metal plate preventing the aircon from sliding out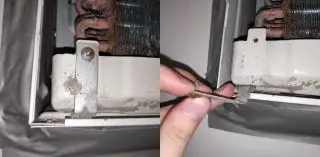
After the screw is removed, you just lay it flat and you can take it out
Screws on outside
Before you can remove the aircon from the wall, you need to remove the two screws from the outside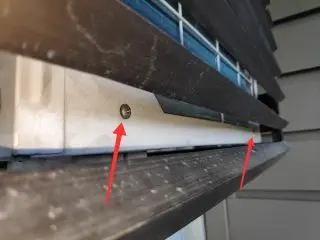
These might already be removed, but if they aren't, you'll need to remove them
Down from the wall
In front, there's a handle, that you can use to make it easier pulling it out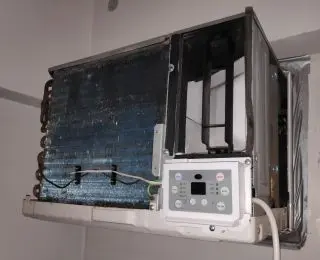
Now it's important to have at least one more person to assist you to carry down the aircon and hold it up as you're pulling it out
[Optional] Top plate
Now that the Aircon is down from the wall, top plate can be removed. Skip if you're just (re)moving the aircon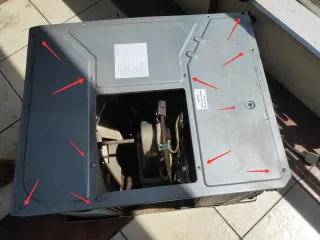
On this one there's 11 screws, but there are more screw holes. So it seems it can vary which are in use
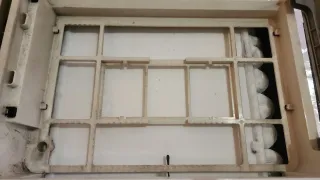
[Optional] Inside of aircon
Now you can see the inside of the Aircon and this one is decently dirty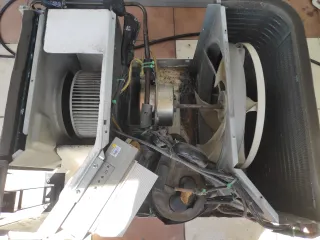
Now you can proceed with cleaning or whatever other activity you had planned