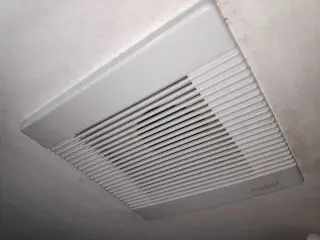
Cleaning bathroom exhaust fan
The toilet exhaust fan, is one of the things around the house that's easy to forget also needs cleaning
Published: 26 May 2021
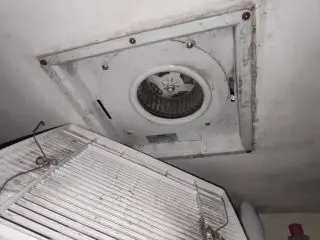
Many will first think of cleaning the bathroom exhaust fan, when you get to the point you wonder if it's broken
It can often look clean from the outside, as that's an area one is more likely to actually frequently whipe over
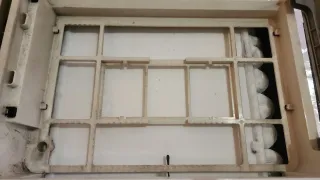
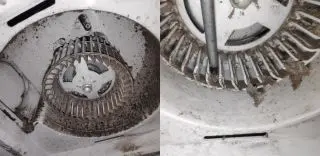
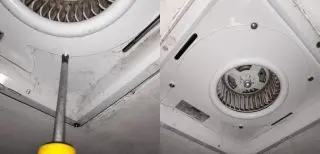
The inside
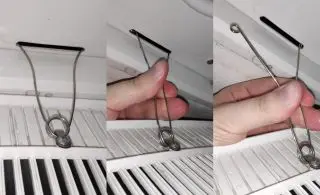
Unhook the cover
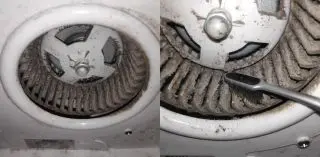
Dirty fan blades
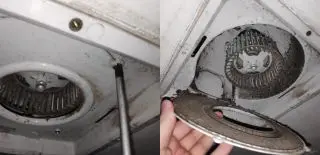
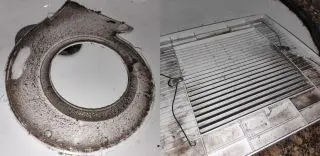
Blade cover
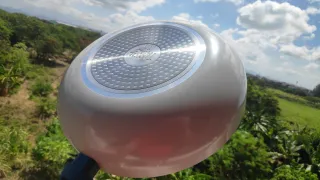
Now you can really see all the dirt hiding here
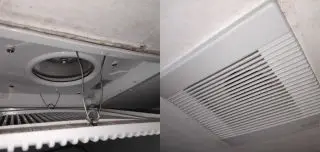
Cleaning the blades
I know some like to vacuume clean, but as mine was more stuck I need to something heavier
Lots of built up dirt
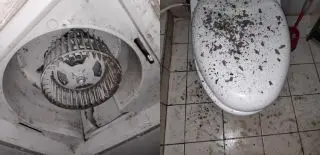
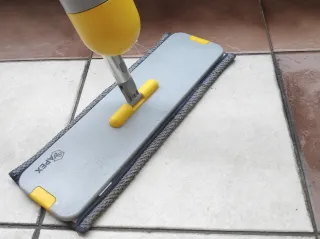
Now I grabbed a rag to wiped off most that was left on the fan and it's surrounding area
Covers
Brush in the sink
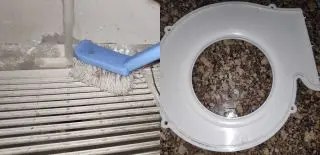
I only used water and a brush, which removes the dirt
Installing the covers
Then it's just to put back the excaust fan cover, by squeezing the metal together and thread them back into the holes
Job well done
We sometimes publish affiliate links and these always needs to follow our editorial policy, for more information check out our affiliate link policy