What's inside a SNES Mini?
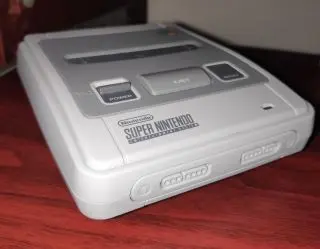
Let's take a look inside the Super Nintendo Classic Mini and how to take it apart
If you're interested what the SNES Mini is, you can check out our SNES Mini unboxing
If you decide to open yours at home, please be careful not to break or lose anything. Also notice that your warranty might be voided, depending on your local laws. We take no responsibility for any damage you might encounter by following this guide, so proceed with caution
Reasons to take it apart
Cleaning it after spilling
My kids managed to spill milk all over the SNES Mini. As milk gets pretty sticky and smelly, I really didn't want to leave anything in there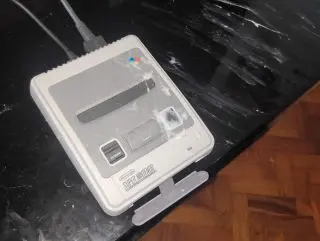
It also finally gave me a reason to take it apart, as I've been wanting to do for a long time. Later on, they also played with glue and soaked the SNES Mini in glue, once again I needed to take it apart. Otherwise the glue would dry and make it useless
Modifications
If you want to make modifications. Such as installing Bluetooth chips, so you can play with Bluetooth controllersRemove rubber feets
First thing you need to do, is remove the four rubber feets under neat. Use a small knife or tweezers. Gently insert between the rubber feet and case. Then flip out from the case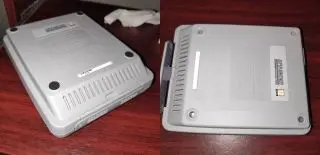
To avoid loosing then, you can stick then under the case next to the hole. I didn't do it, as the entire unit need to be washed
Under the rubber feet, there's screws. Remove the four screws and place them somewhere safe
Remove the lid
Now that the screws are removed, you can seperate the two halfs. By gently lifting the top case and holding the bottom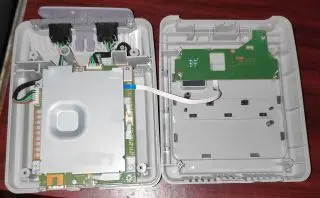
Please be aware there's a ribbon cable connecting the two. So you want to just lift it up and place it upside down next to the bottom case
Installing Bluetooth chips
If you're installing Bluetooth chips, you don't need to take it more apart. Now you can just unplug the controller cable and install the Bluetooth chip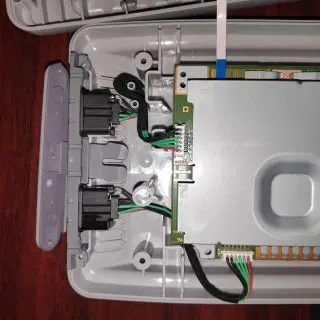
As I'm trying to clean out milk and can see spills all over inside. I'll need to continue taking it apart
Remove the screws from the lid
Now you want to remove the three screws, holding the board in the lid. After it's removed, you'll have access to remove the buttons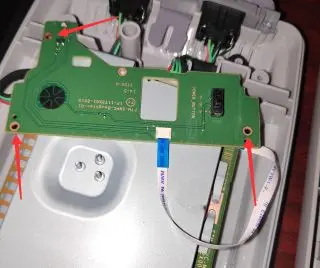
It's also possible to just disconnected the ribbon cable, but not an option when you need to clean it
Remove screws from the mother board
Now there's 5 screws to remove from the motherboard and two screws to remove from the controller port
When the 7 screws are removed, you can lift up the motherboards and wires and put them aside
Careful about the light defuser
There's a small plastic piece in the lid, where the light goes through to indicate the power is on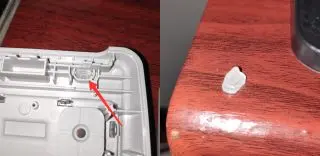
I didn't notice this was loose the first time I took it apart, so I lost it down the sink. I ended up taking apart the pipes under the sink and was lucky enough to find it there
Under the heatsink
To remove the heat sink, you just need to lift it straight up from the mother board. As it's fastened with the same screws, as was holding the motherboard to the case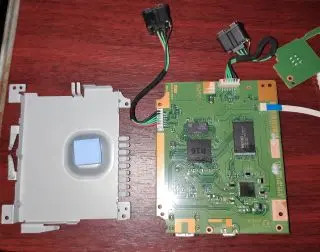
It might be slight stuck to the motherboard, so you just need to lift it gently straight up and it will eventually let go
Clean the dirty spots
As the milk had gone really into everything. I decide to get a bucket, with slight water and dishwashing liquid. Then I soaked the non-electronic parts into the water and gently washed, then rinsed them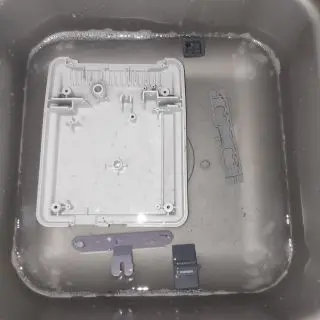
For parts the electric parts, I used cotton buds and contact spray, but here you need to be really gentle so you don't damage anything
Now you need to let the parts dry completely and then reassemble, by doing all steps in reverse